In the digital age, we all carry a camera in our pockets thanks to our mobile phones. iPhones, known for their exceptional image quality, produce high-resolution photos that, while impressive, can take up a lot of storage space. Quickly filling up your phone’s memory with large photos is a common concern, so here are three effective ways to reduce the size of photo files on your iPhone, ensuring you can keep capturing your favourite moments without worrying about space.
The ideal solution: UniConverter
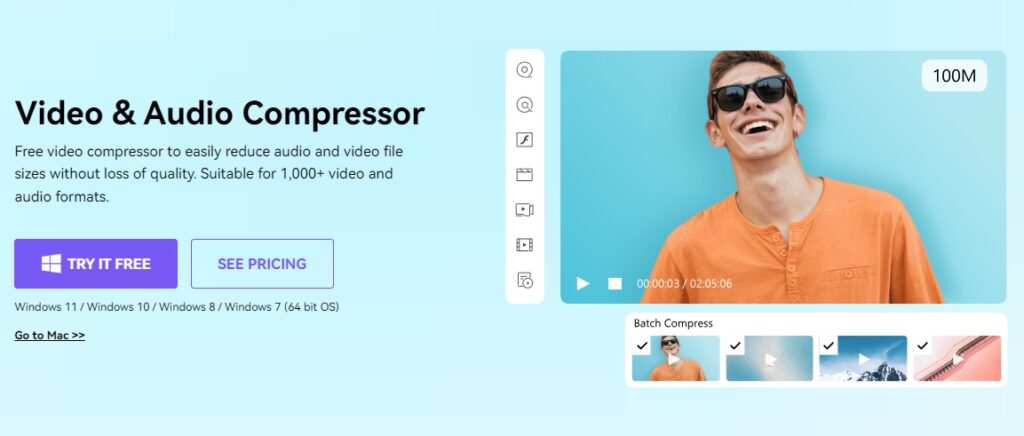
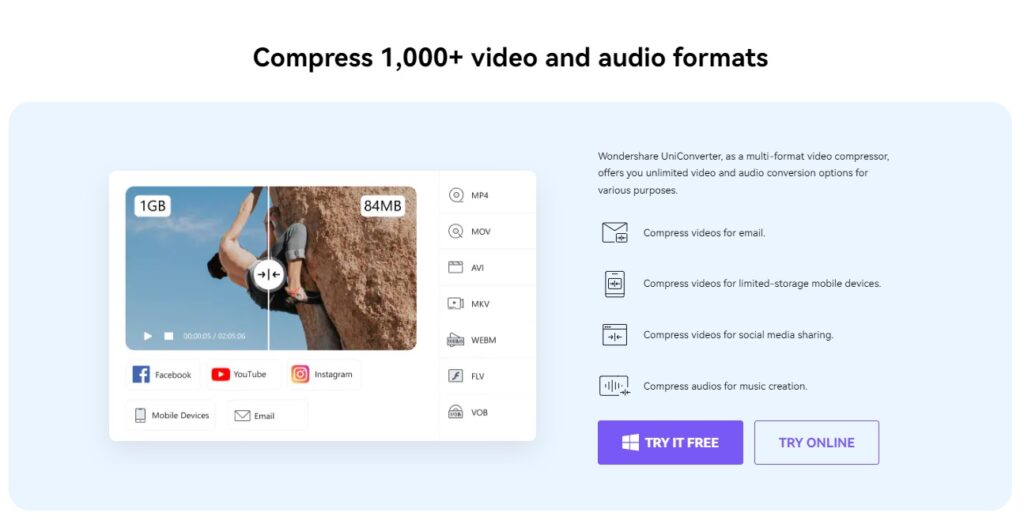
For those looking for an efficient tool to reduce file sizes, UniConverter is an excellent choice. This software, aside from being a video converter, is also useful for reducing file sizes. It offers an all-in-one solution for managing multimedia files. UniConverter, created by Wondershare, allows you to compress photos easily and quickly while maintaining high image quality, which is important to preserve the essence of your favourite photos.
This tool is especially useful for those who need to manage large volumes of photos, as it supports batch compression, allowing you to reduce the size of multiple images simultaneously. Additionally, UniConverter uses advanced GPU acceleration technologies to ensure the compression process is fast and efficient without compromising quality.
Wondershare: Innovation and quality
Wondershare is a leading company in creating innovative software for multimedia file management. Founded in 2003, Wondershare has dedicated itself to developing tools that simplify the digital lives of millions of people in over 150 countries. Its portfolio includes products like UniConverter, which has become an essential tool for converting and compressing videos and photos, and Filmora, a powerful and easy-to-use video editor. Wondershare not only focuses on the quality of its products but also on the user experience. Each tool is designed to be intuitive and accessible, allowing users of all skill levels to make the most of their functionalities.
Three ways to reduce the size of photos on iPhone:
1. Using UniConverter
As mentioned earlier, UniConverter stands out for its ease of use and effectiveness. To reduce the size of your photos with UniConverter, follow these steps:
- Download and install UniConverter on your computer. This program is available for both Windows and Mac, ensuring compatibility with most operating systems.
- Open the program and select the “Image Compression” option. This specific function is designed to optimise the size of photos without compromising their quality. Additionally, the program offers a simple interface that makes navigating through its multiple options easy.
- Drag the photos you want to compress into the program. You can select multiple images at once to save time, thanks to UniConverter’s batch compression capability. This feature is particularly useful when you have a large number of photos that need to be compressed.
- Adjust the compression settings according to your needs, choosing the desired resolution and quality. UniConverter allows you to customise the level of compression, meaning you can opt to maintain high visual quality or reduce the file size more if space is a priority. Additionally, you can preview how the compressed image will look before proceeding, helping you make precise adjustments.
- Click “Compress” and save the compressed photos to your device. The compression process is fast and efficient, thanks to the advanced GPU acceleration technologies used by UniConverter. Once completed, you can store the compressed photos in any preferred location on your computer.
This tool not only significantly reduces file sizes but also maintains excellent image quality, making it an ideal option for those who want to optimise storage without sacrificing quality. Additionally, UniConverter allows you to adjust the resolution and quality of the photos, offering complete control over the compression process. This flexibility is particularly useful for photographers and content creators who need to maintain high quality in their images.
2. Adjusting iPhone Camera Settings
Another effective way to reduce photo sizes is by adjusting the camera settings directly on your iPhone. Although this option does not compress photos already taken, it can help prevent future images from taking up too much space. To do this, follow these steps:
- Open the Settings app on your iPhone. This is the first stop for making any adjustments to your device. The Settings app contains all the options necessary to personalise your iPhone experience.
- Go to “Camera” and select “Formats”. In this section, you can manage how your iPhone’s camera handles image and video capture. Changing the formats can significantly impact the size of the resulting files.
- Choose the “Most Compatible” option instead of “High Efficiency”. The “Most Compatible” option saves photos in JPEG and H.264 formats, which are widely recognised and take up less space compared to the HEIF and HEVC formats used by the “High Efficiency” option. While HEIF and HEVC formats offer higher image and video quality with a reduced file size, they are not always compatible with all devices and platforms.
- Adjust the video resolution and image quality. Besides changing the format, you can reduce the resolution of the videos you record and the quality of the photos you take.
- Enable or disable additional features as necessary. Other settings, such as enabling HDR (High Dynamic Range), can also affect file size. While HDR improves image quality, it can increase file size. Consider disabling it if you need to optimise storage.
- Consider using the “Optimise Storage” feature in Photos. This feature saves high-resolution versions of your photos and videos in iCloud while keeping smaller versions on your device, freeing up space without losing access to your memories.
By following these steps, you can effectively manage the space on your iPhone, ensuring future photos and videos do not fill up the available storage. These adjustments are particularly useful if you are an avid photographer or if you frequently use your iPhone to capture important moments.
3. Using iPhone’s photo editing feature
The iPhone also offers built-in editing tools that can help you reduce photo sizes. Although this option may not be as effective as the previous ones, it is useful for reducing the size of photos without needing to download additional apps. Here’s how to do it:
- Open the Photos app and select the image you want to reduce. This is the first and most obvious action. The Photos app is where all your images are stored and ready to be edited.
- Tap “Edit” in the top right corner. This button takes you to the iPhone’s built-in editing options, where you can make a variety of changes to the selected photo.
- Make basic adjustments such as cropping the image or reducing its resolution. Cropping the image to remove unnecessary parts not only improves the composition but also reduces the file size. Reducing the image resolution also helps decrease the file size without significantly compromising visual quality.
- Save the changes and check the file size. Once you have made the necessary adjustments, save the changes and check the new file size to ensure it has been adequately reduced.
- Adjust other parameters such as brightness, contrast, and saturation. These adjustments can improve the visual appearance of the image without increasing the file size. Additionally, removing unnecessary filters can also help reduce the file size.
- Use the resize tool. In the photo adjustment section, there are sometimes options to directly resize the image. This tool allows you to specify a lower resolution to reduce the file size.
- Convert the image to another format if possible. Sometimes, changing the image format to one that takes up less space (such as JPEG instead of PNG) can help reduce the file size without a noticeable loss in quality.
This option is especially useful for those looking for a quick and hassle-free solution for individual photos. The iPhone’s photo editing feature allows you to make quick and simple adjustments, such as cropping the image to remove unnecessary parts or adjusting brightness and contrast to enhance the photo’s visual quality. While these options may not significantly reduce the file size, they are useful for optimising storage and improving the appearance of your photos.
Reducing the size of photo files on your iPhone does not have to be a complicated task. Whether you use UniConverter, adjust your camera settings, or edit photos directly on your device, there are several ways to optimise storage without compromising the quality of your images. UniConverter stands out as a comprehensive solution that, apart from being a video converter, is also valid for reducing file sizes, ensuring your photos remain in the best possible quality.
It is important to remember that each method has its advantages and disadvantages, and the best option will depend on your specific needs. For example, if you are looking for a quick and hassle-free solution, adjusting camera settings or using the iPhone’s editing feature may suffice. However, if you need a more comprehensive and flexible solution, UniConverter is an excellent choice. Use these strategies and tools to keep your photos organised and your iPhone in perfect working order.